Getting Started
Contents
Installation
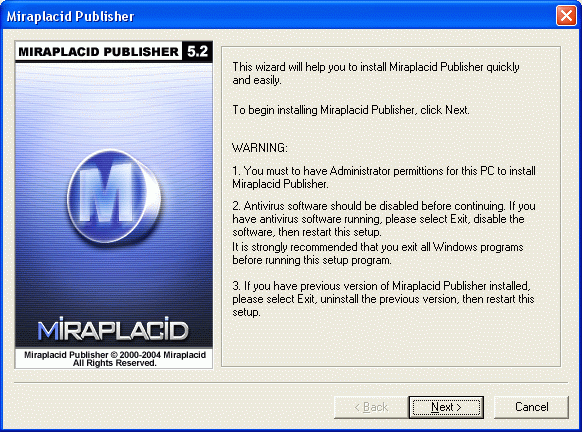
To install Miraplacid Publisher 5.2 follow these steps:
- Download Miraplacid Publisher 5.2 from http://www.miraplacid.com/mp
- Run downloaded mpublisher.exe
- Click "Next" button
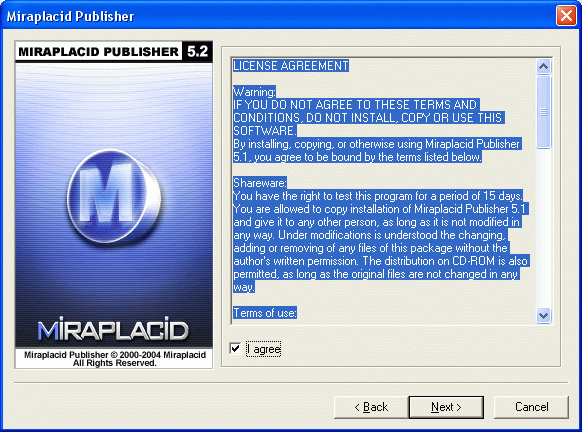
- Make sure you are agree with the license statement and click "I agree" button
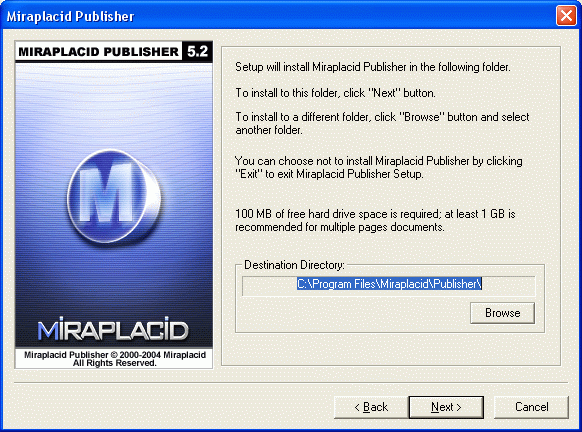
- To install to this folder, click "Next" button. To install to a different folder, click "Browse" button and select another folder.
- Click "Finish" button
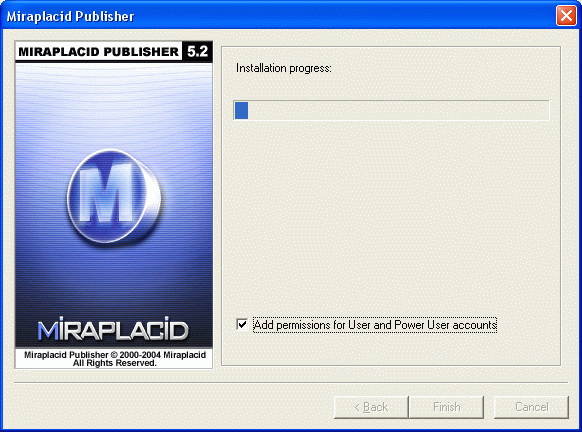
- Miraplacid Publisher icon will appear next to Clock in Windows System Tray

Additionally, shortcuts to Miraplacid Publisher will be installed to desktop and Programs folder of Start Menu.
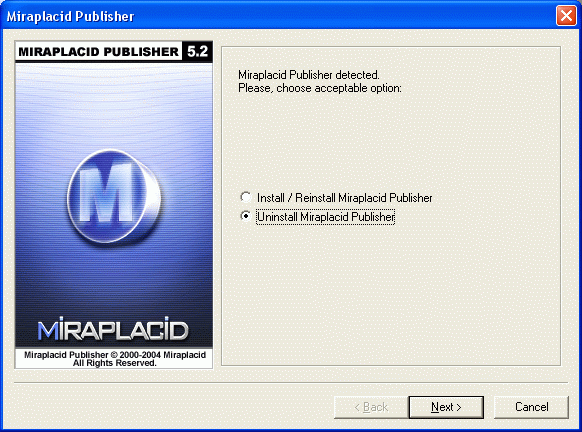
Uninstallation
To uninstall Miraplacid Publisher
- Run Setup.exe
- In "Reinstall/Uninstall" dialog select "Unistall Miraplacid Publisher" and click "Next"
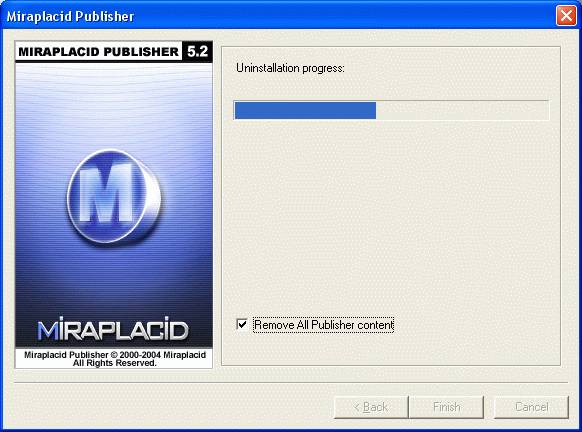
- Click "OK". Miraplacid Publisher successfully uninstalled.
Easy Document to Images conversion
To convert your document to images using Miraplacid Publisher 5.2 follow these steps:
- Make sure Miraplacid Publisher 5.2 is installed on your PC
- Open your document with application that supports printing
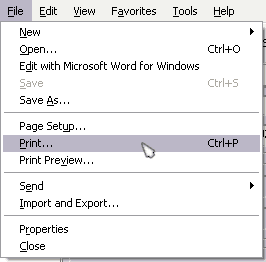
- Open Print dialog box from the application (usually, it is in "File" menu, "Print" item)
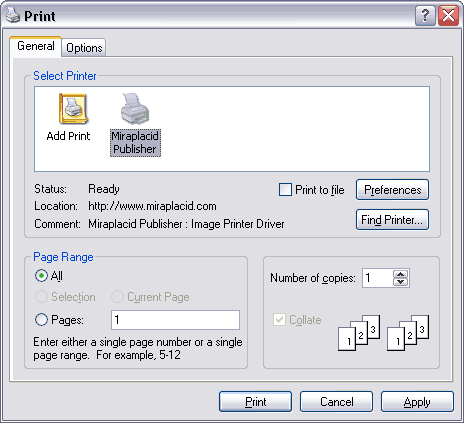
- In the "Print" dialog select "Miraplacid Publisher" in a "Select Printer" ("Printer Name") box and click "Print"
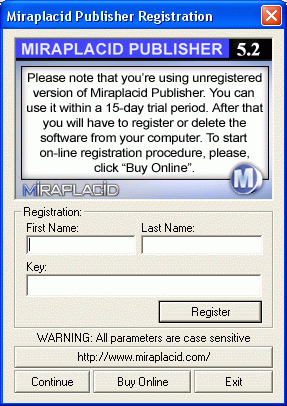
- For unregistered version only: click "Continue" button.
Note: you will never see this dialog in a registered version.
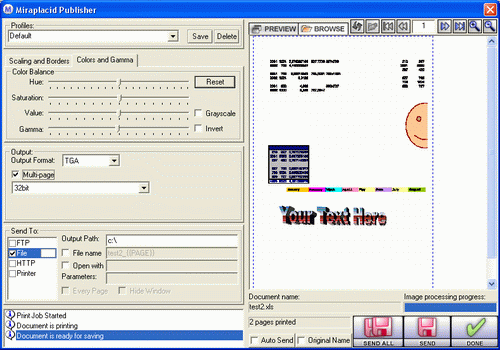
- In the "Miraplacid Publisher" dialog specify file location (make sure Send To: File is selected) and click "Send" or "Send All"
Congratulations! Your document has been converted to image and saved to disk!
Easy Document to Web Presentation conversion
To convert your document to web presentation using Miraplacid Publisher 5.2 follow these steps:
- Make sure Miraplacid Publisher 5.2 is installed on your PC
- Open your document with application that supports printing
- Open Print dialog box from the application (usually, it is in "File" menu, "Print" item)
- In the "Print" dialog select "Miraplacid Publisher" in a "Select Printer" ("Printer Name") box and click "Print"
- For unregistered version only: click "Continue" button.
Note: you will never see this dialog in a registered version.
- In the Miraplacid Publisher dialog select "Web Presentation" in
Configuration dropdown menu.
- In the "Miraplacid Publisher" dialog specify a file location (make sure Send To: File is selected),
make sure "File name" check box is checked and file name is p{{PAGE}},
and click "Send All"
Congratulations! Your document has been converted to web presentation and saved to disk!
- Go to the destination folder you specified, find .jpg and .htm files and copy them to your web server.
- Open a browser, go to your web server and open file
http://www.yourserver.com/presentation/p1.htm
See also:
|