Preview Window
When you print to Miraplacid Publisher, Preview window pops up (unless you turn it off in System Settings). As soon as first page of the document get printed, you will see the first page picture in the preview window. You can change Scaling and Borders or Colors and Background settings and see how it affects your picture.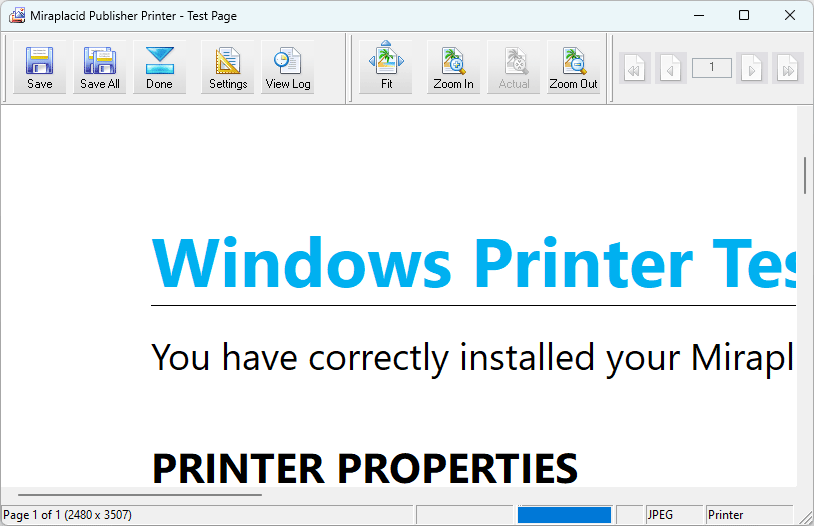
Preview Window Toolbar
- Save - Save current page. By default, Miraplacid Publisher saves each page picture to individual file {{DOCNAME}}_{{PAGE}} in user's pictures folder with extension, corresponding to selected graphics format. Default graphics format is JPEG. To change name or path, please update Output To settings.
- Save All - Save all document pages then Close Print Job. Instead, you can navigate through pages, push "Save" for each page then push "Done" button described below.
- Done - Close current print job. If there is a next print job waiting in a print queue, it will show up in the Preview window.
- Settings - Opens Settings dialog
- View Log - View Miraplacid Publisher log (see below).
- Zoom Settings - You can change preview zoom from 30% to 340% or make all the page image to fit to preview window.
Please, note this is only for preview purposes; this does not affect resulting image. To scale resulting image, please, use Scaling and Borders settings. - Navigation - You can browse through printed pages with navigation buttons or enter desired page number to edit box and press Enter.
Status Bar contains Print Job status, Processing progress indicator, Saving progress indicator, selected graphics format and Output To: selection.
Below is Log Window
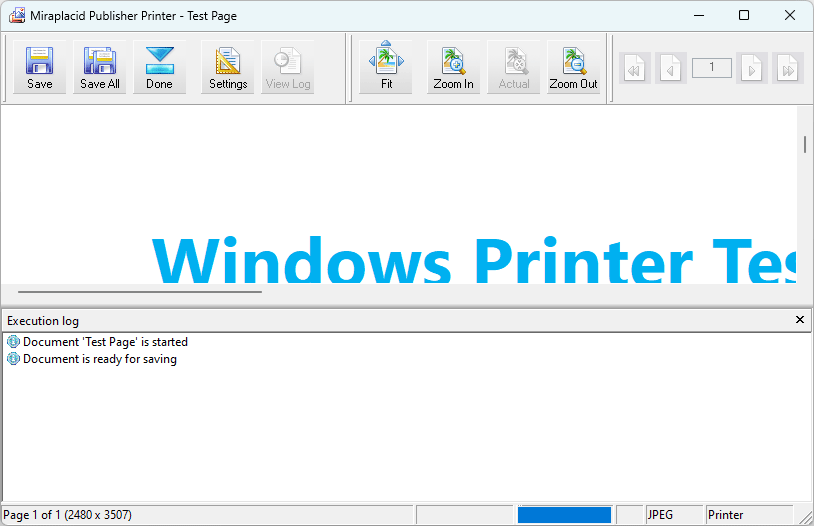
You can size the log window by dragging window splitter with mouse. You can close the log window by clicking on [X] button on the right side of the log window. If you close the log window, it will wipe out current log information.
See also:
- Miraplacid Publisher 2025 About
- Miraplacid Publisher 2025 Installation
- Miraplacid Publisher 2025 Registration Dialog
- Miraplacid Publisher 2025 Activation Dialog
- Miraplacid Publisher 2025 License Manager
- Miraplacid Publisher 2025 Advanced Settings
- Miraplacid Publisher 2025 Main Preview Window
- Miraplacid Publisher 2025 Settings Dialog
- Miraplacid Publisher 2025 Scaling and Borders Settings
- Miraplacid Publisher 2025 Colors and Background Settings
- Miraplacid Publisher 2025 System and Format Settings
- Miraplacid Publisher 2025 Output To: Settings
- Miraplacid Publisher 2025 Scripting Guide
- Miraplacid Publisher 2025 Main Page